Introduction
Have you ever had one thing in the back of your mind for years and years and then one day realized- GOD DAMMIT, TODAY IS THE DAY!!? That’s how I felt about building my own computer. Ever since I started gaming I have wanted to put together my own rig. Whether due to budget or time or being away from school or not knowing which components to buy, I always kept putting it off. NO LONGER.
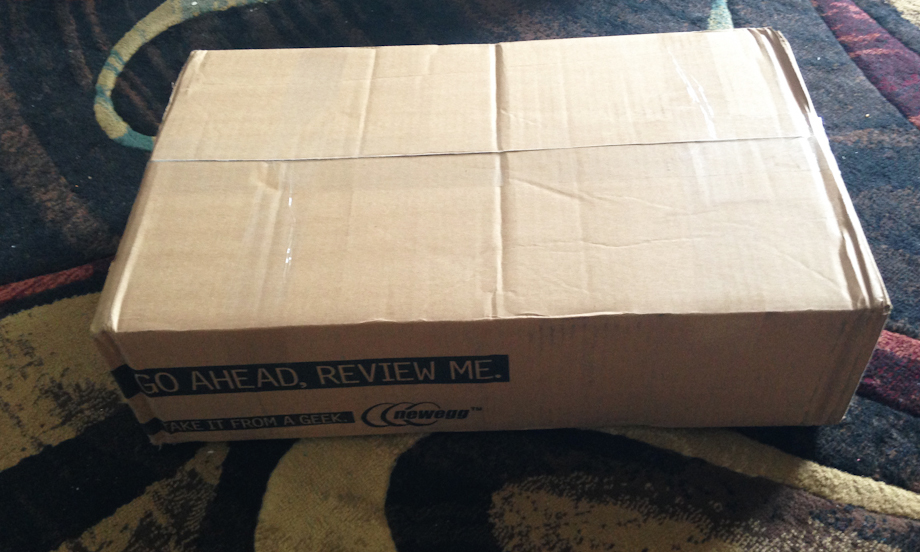
On Friday, September 6th, 2013, I decided I had had enough. I researched all weekend, asked people on Twitter and called friends for advice. 2 days later I placed my order on Newegg. The parts shipped out Monday, they arrived on Wednesday. I stayed up all night and by Thursday morning I had a BEAUTIFUL computer to call my own. Honestly, if you’ve never built your own rig, if you’re nervous, if you’re unsure- just do it. It does not have to be the long, drawn-out, painful process that it may seem. And the feeling you will get from creating something so powerful out of collection of random parts is amazing. I literally wanted to sit on the floor and stare at my new pride and joy for hours. Yep, huge nerd.
How I Did It
By no means was my process as clean and simple as this list makes it seem; I backtracked, I re-thought, I spent hours trolling through EggXpert forums scanning for examples. However, looking back on it, these were the main steps that I followed along the way to my first custom-built computer:
- First I decided what type of computer I wanted to build (gaming rig!). This informed my decisions about the type of processor and video card I would buy.
- I fixed an upper limit on total amount of money that I wanted to spend ($1400 max, including operating system and paraphernalia like keyboard and mouse).
- After doing some reading, I determined that there are two types of CPUs: Intel and AMD. I chose Intel because they are great for gaming & graphics.
- I researched heavily into benchmark tests to find a balance between the performance I wanted (in terms of CPU and video card models) and the price range I had set for myself.
- Once I had decided on the Intel Core i5-4670K, I knew that I had to buy a LGA 1150 socket-compatible motherboard. Make sure you buy a mobo with the right socket for your specific model of CPU!!
- I browsed and selected a motherboard/video card combo deal through Newegg that saved me roughly $20. Again, I chose the video card and mobo based on benchmark tests and price range.
- Next, I determined through extensive forum browsing that I would need at least a 600W power supply to safely run my CPU/video card duo. I opted to go a bit higher and bought a 750W power supply in case I ever decide to massively upgrade my video card.
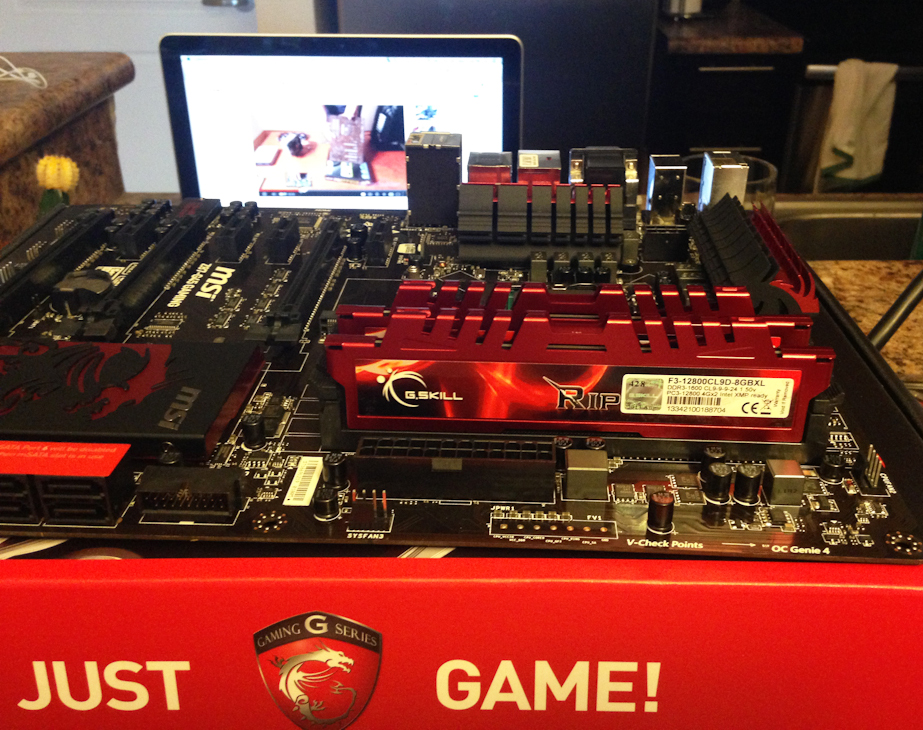
- Settled on 8GB of RAM. Any more seemed like overkill. The G.SKILL Ripjaws name brand had great reviews, so that’s what I went with.
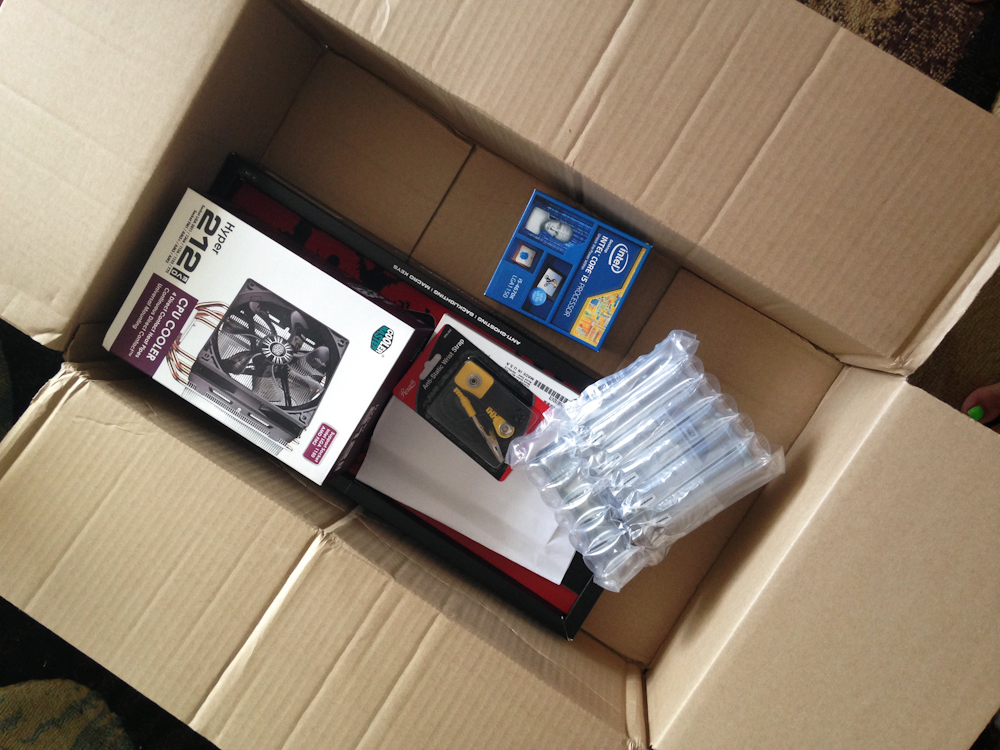
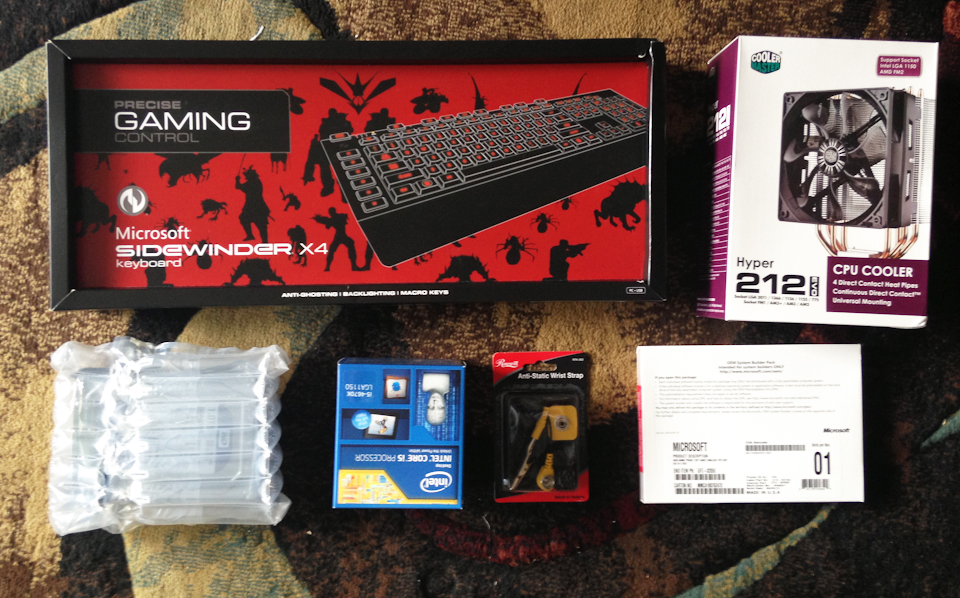
- Many reviews and comments mentioned external heat sink fans and specifically suggested the COOLER MASTER Hyper 212. I bought one.
- The 1TB Western Digital hard drive was a given; great name brand and plenty of room for games and files.
- I was torn on whether or not to buy a SSD because they are still so damn expensive per GB. In the end I opted for a small 120GB Kingston- I’d rather install it at the beginning than down the road.
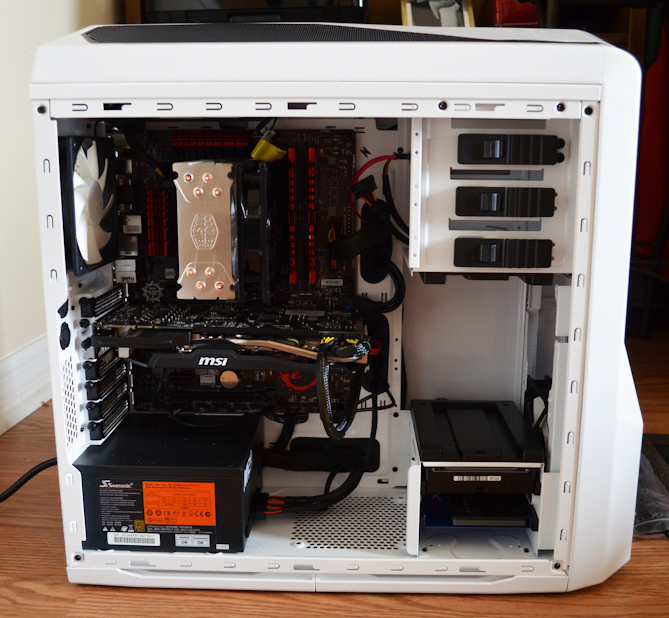
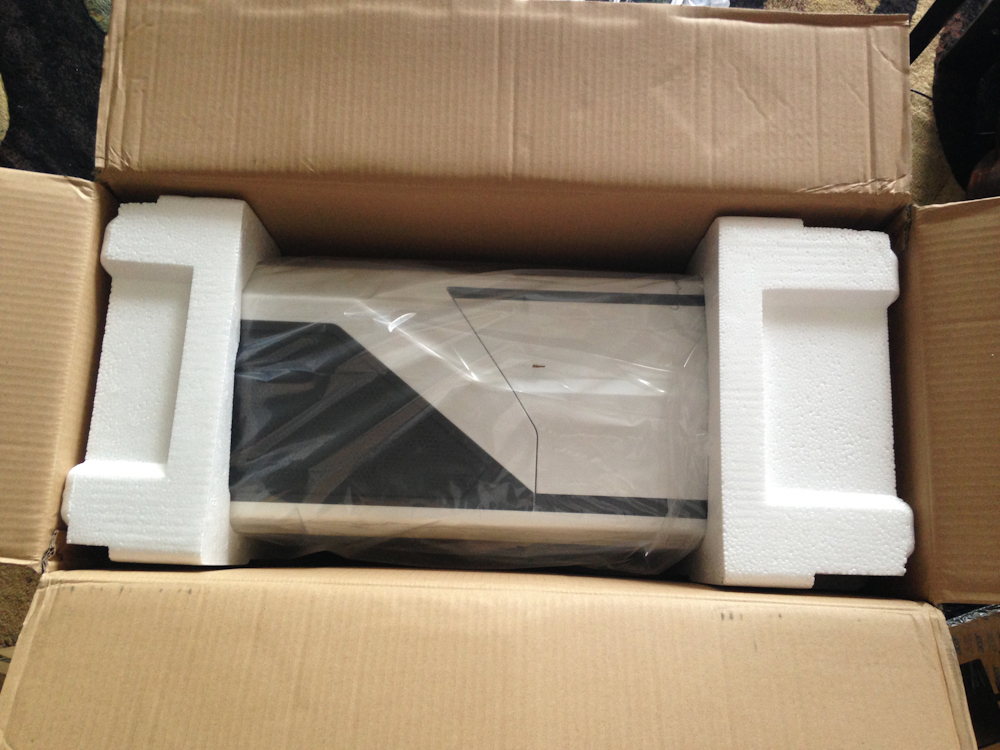
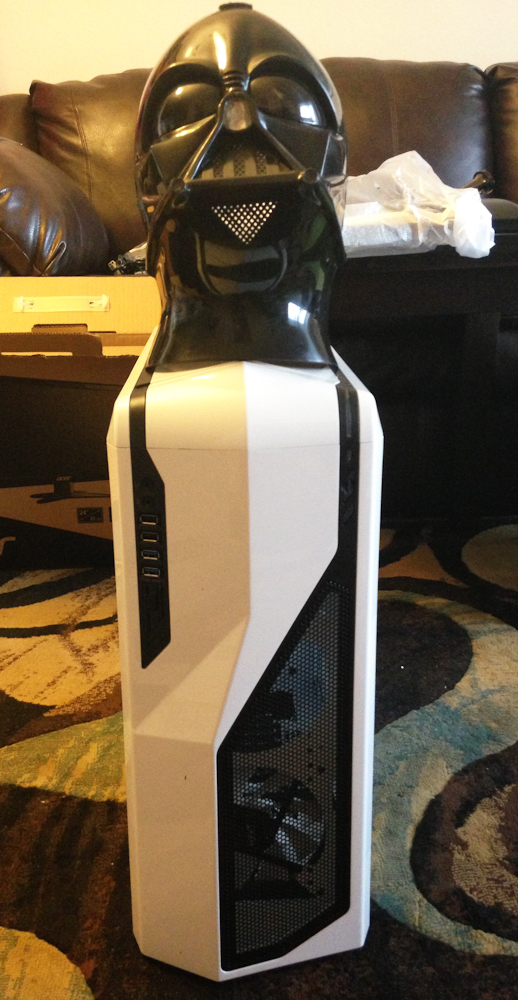
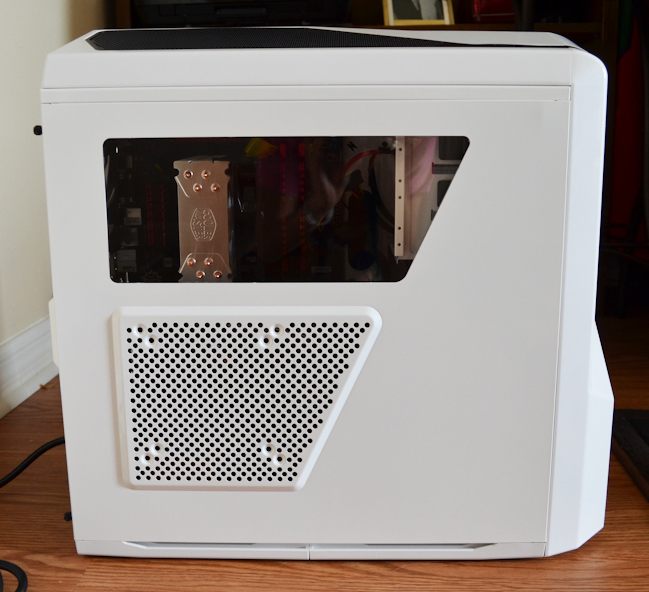
- The last major decision was the case, which looking back on it should have been my first decision. I went with the NZXT Phantom 410 because it is sexy, moderately priced and big enough to fit my parts. I browsed through many builds also using the Phantom 410 case to get an idea of how components would be laid out. Also it comes with 3 pre-installed lights and several blue LEDs. Score.
- I don’t burn DVDs, so I bought a plain old, cheap optical drive for read-only.
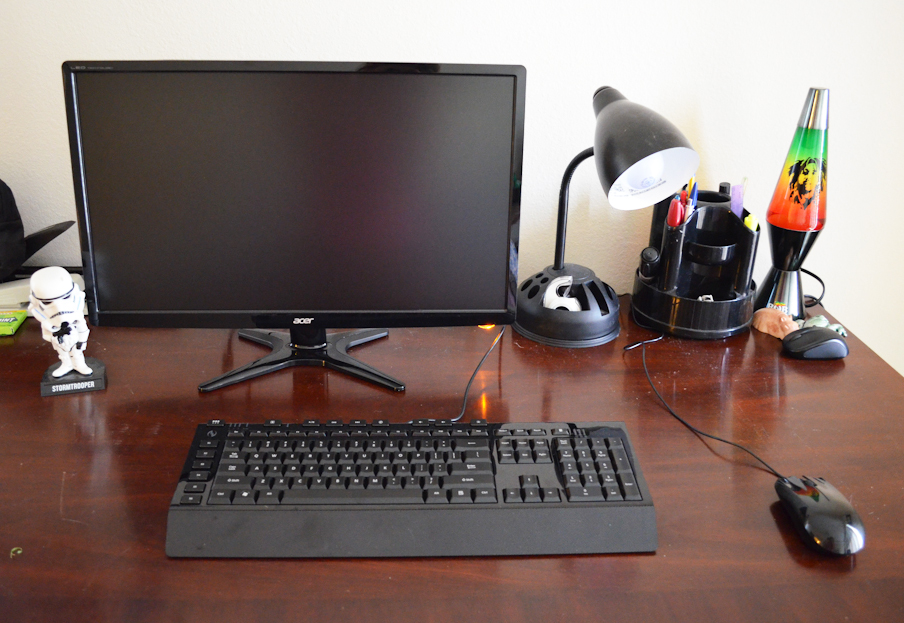
- For a monitor I went with the best bang for my buck (24″ is plenty wide for my purposes).
- Razer mouse because I wanted the LED (it’s blue, by the way).
- Microsoft gaming keyboard because I wanted the LED key backlighting (red).
- I went for Windows 7 because Windows 8 is the devil.
- Lastly I wanted to connect to WiFi, so I decided I’d try the EDIMAX Wireless nano Adapter for roughly $10. Bad decision. Terrible performance, constantly cutting out. I’ve tossed it into my drawer and now connect to the Internet via Ethernet cable. Save yourself the hassle and buy yourself a $10 sandwich instead.
My Computer Spec
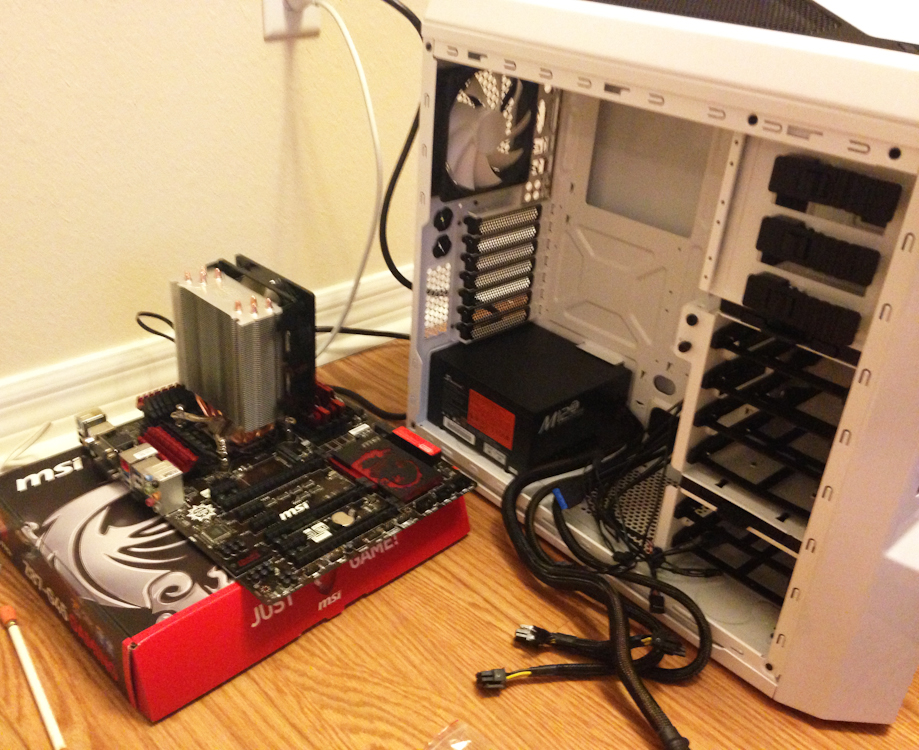
- Case: NZXT Phantom 410 Series CA-PH410-W1 (White)
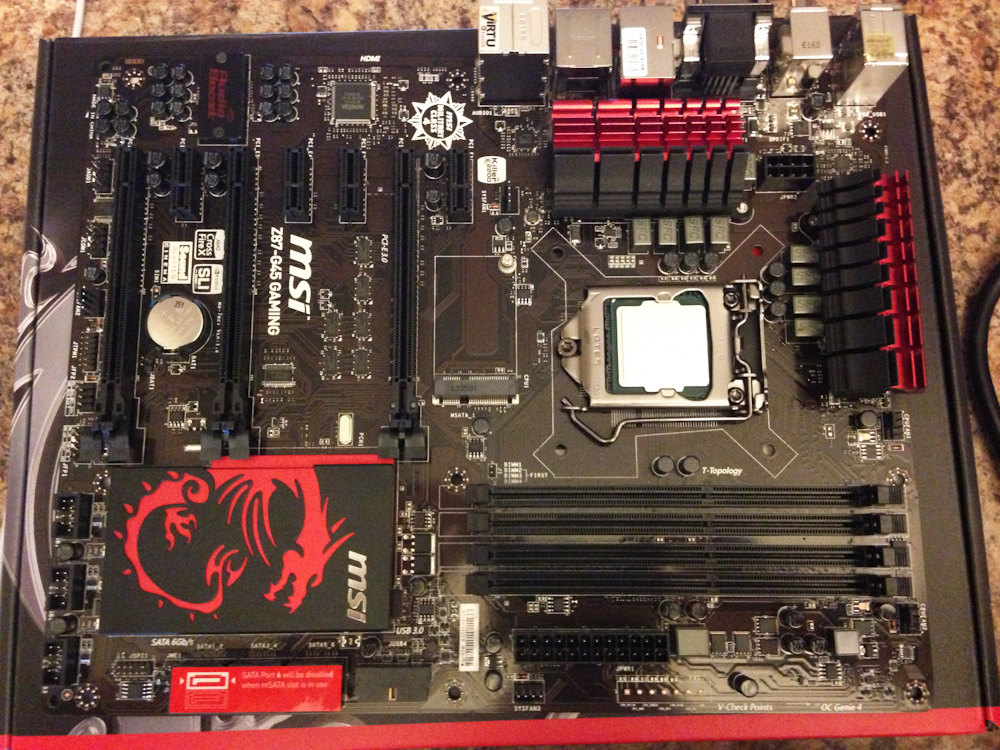
- CPU: Intel Core i5-4670K Haswell 3.4Ghz LGA 1150 84W Quad-Core
- Motherboard: MSI Z87-G45 Gaming LGA 1150 Intel Z87 HDMI SATA 6Gb/s USB 3.0 ATX Pro
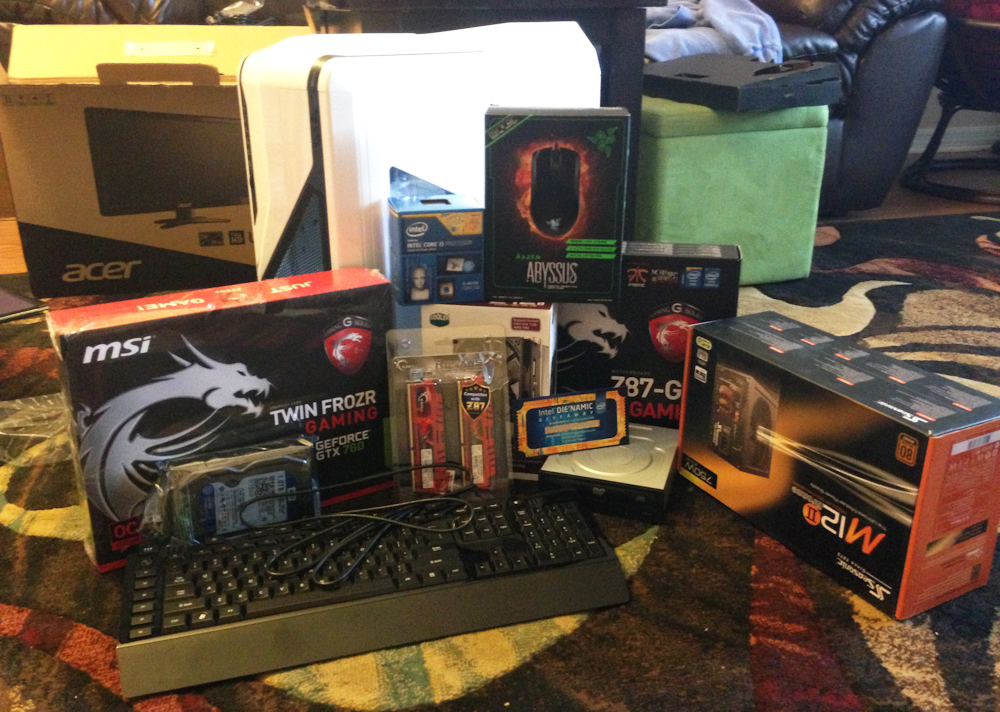
- Graphics: MSI Gaming N760 TF 2GD5/OC GeForce GTX 760 2GB 256-bit GDDR5 PCI Express 3.0
- RAM: G.SKILL Ripjaws X Series 8GB (2 x 4GB) 240-Pin DDR3 SDRAM DDR3 1600 Desktop Memory
- HDD: Western Digital WD Blue 1TB 7200 RPM 64MB Cache SATA 6.0Gb/s 3.5″
- SSD: Kingston 120GB SATA Rev. 3.0 (6Gb/s) 2.5″
- Optical Drive: LITE-ON Black SATA DVD-ROM Drive Model iHDS118-04
- Cooling: COOLER MASTER Hyper 212 EVO RR-212E-20PK-R2 Continuous Direct Contact 120mm Sleeve CPU Cooler
- Power Supply: SeaSonic M12II 750 SS-750AM 750W ATX12V / EPS12V SLI Ready
- Monitor: Acer 24″ Widescreen LED
- Mouse: Razer Abyssus Mirror PC Gaming Mouse
- Keyboard: Microsoft SIDEWINDER X4
- Operating System: Microsoft Windows 7 Home Premium
- Network Adapter: EDIMAX EW-7811Un USB 2.0 Wireless nano Adapter
Essential Tools for Picking Your Components
- PCPartPicker <– Select individual components, view ratings and check compatibility
- EggXpert Computer Building Forum <– Official Newegg help forum, great to post your computer spec and receive feedback
- CPU Benchmarks and Video Card Benchmarks <– Compare performance
Where did I buy my computer parts?
- Newegg <– Hands down best selection, prices and customer service.
- Amazon <– Cheaper than Newegg, on occasion
Tips & Tricks: Research
- Check out Newegg’s Email Promotions and College Deals pages. You may find that one of their discount codes saves you a few bucks on your order.
- Not sure how parts fit in your case? Search for the model of your case at PCPartPicker and then scroll down until you see “Completed Builds Using This Part”. You can browse photo galleries to get an idea of how to layout your components and manage your cables.
- Once you’ve done your research and compiled a list of parts, create a wishlist on Newegg and set it to public. You can then share the link on the EggXpert forums and ask for feedback. If you have any compatibility issues, chances are someone else will catch them. For more information on how to create a public wishlist click here.
Tips & Tricks: Building
- If you do nothing else, watch Newegg’s 3-part series on building computers. Seriously, they walk you through everything. If you still want more, check out EasyPCBuilder’s video.
- Clear off a HUGE space, LOCK your door and TURN OFF your phone when you are doing the build. Trust me.
- Use an anti-static wristband. They are cheap and could save you from frying your parts. Is $4.99 worth the risk of losing a $200 motherboard? Also, don’t work on carpet.
- Read the directions for EVERYTHING at least 5 times.
- Take photos as you go! They are fun to go back and look at (and brag about!!). Now speaking of photos…
Photos of My Build

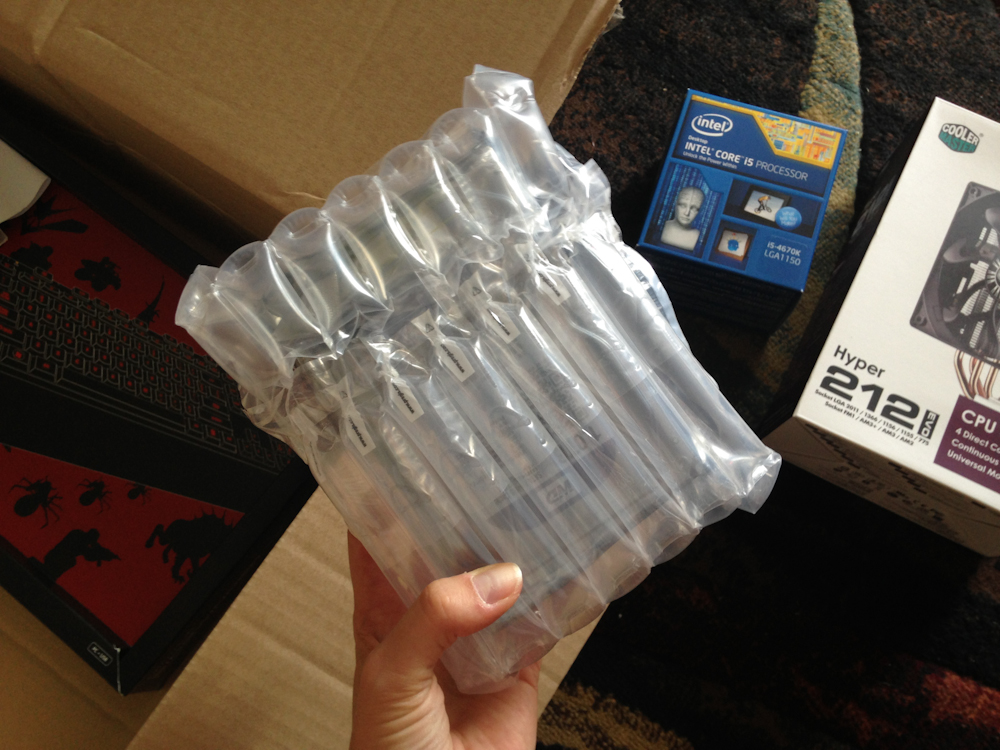

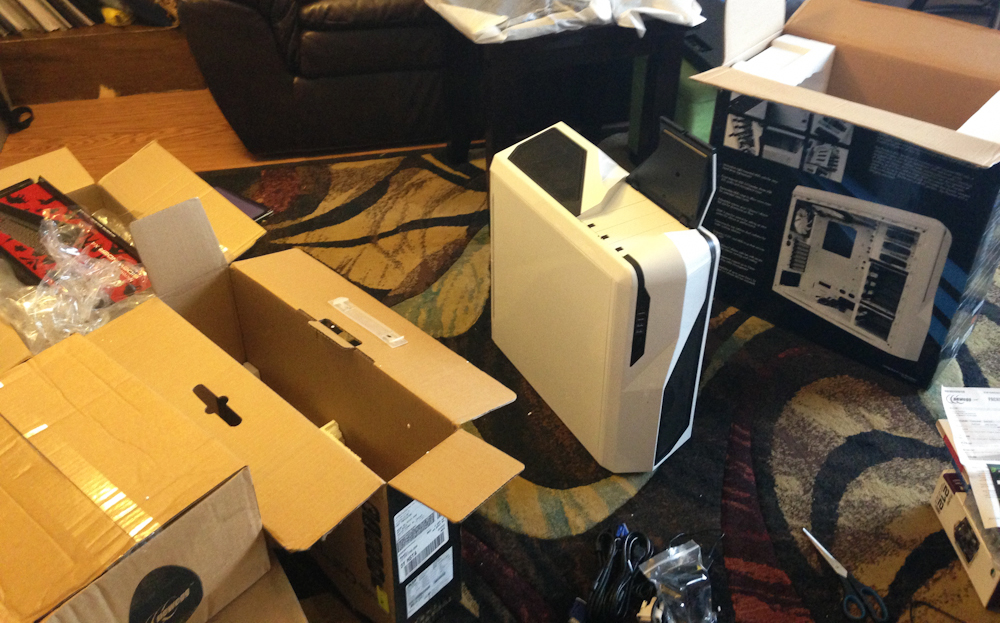
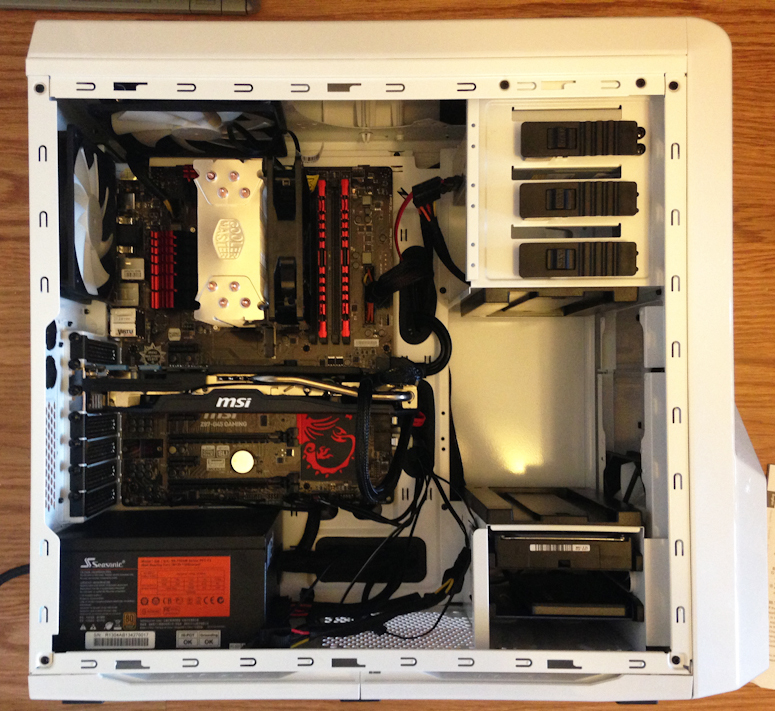
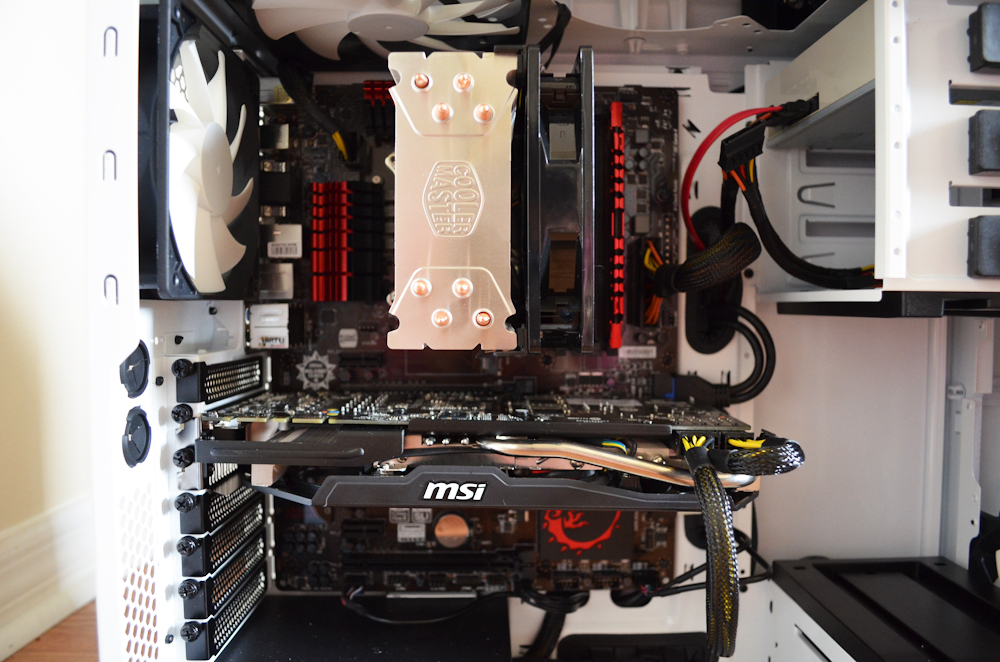

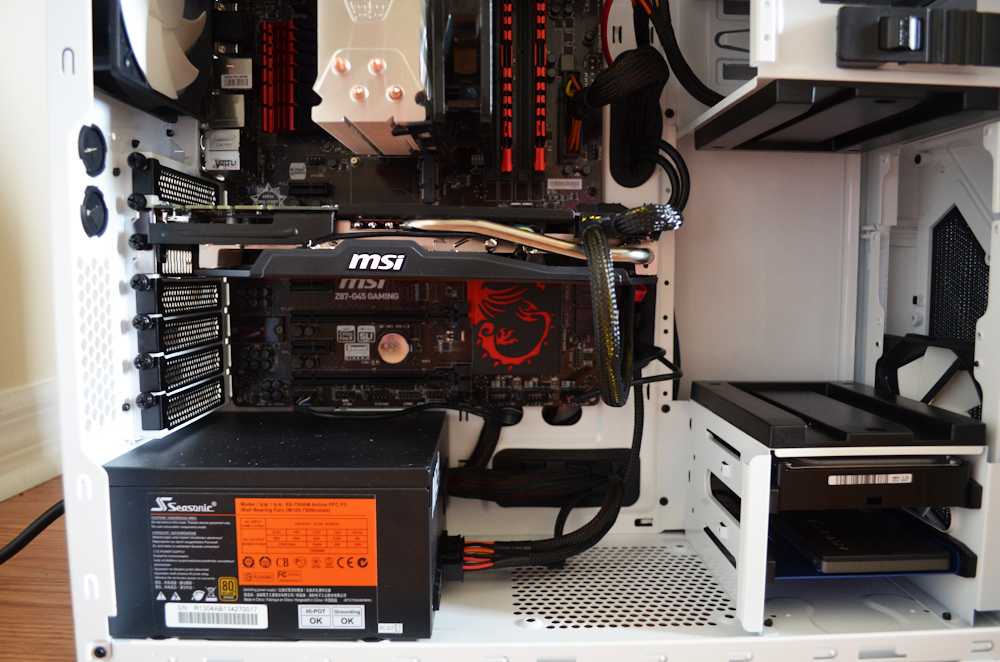

I hope you enjoyed this walkthrough! Please leave any comments or questions below…