This was it. The moment of truth. The ultimate test for Fred the Sourdough Starter to prove himself.
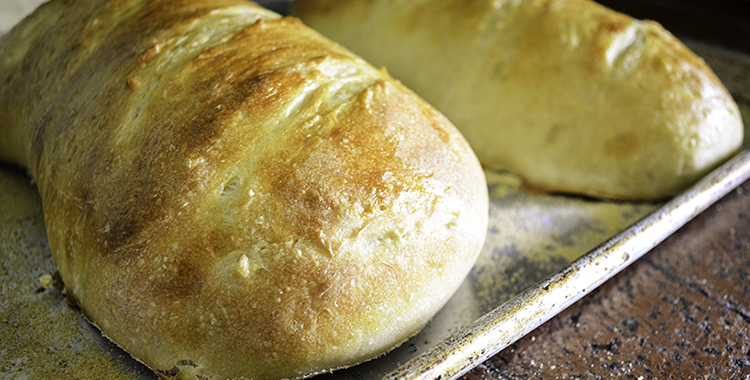
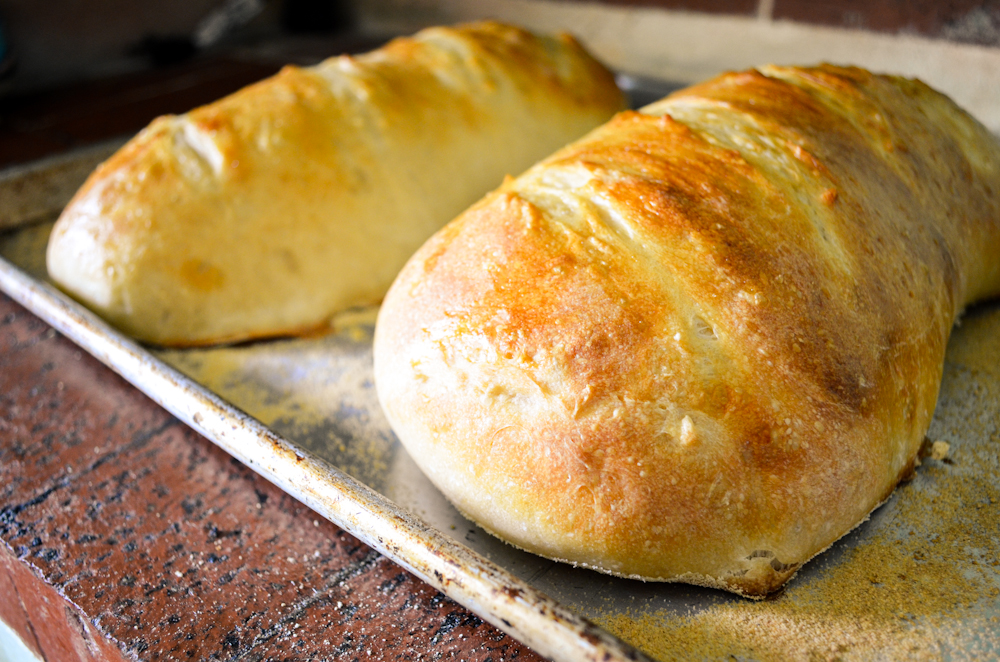
Just look at that beautiful, soft, airy, light, aromatic bread.
Well done, Fred. Well done. Recipe to follow (adapted from Annie’s Eats):
For the sponge:
1 cup fed sourdough starter*
1 1/2 cups lukewarm water
3 cups all-purpose flour
For the dough:
1 tablespoon granulated sugar
2 1/4 teaspoons salt
2 cups bread flour
1-2 tbsp. water (optional)
To finish:
1 egg white lightly beaten with 1 tbsp. water
Water in a bowl
- The first step is to prepare your starter. If it has been in the fridge you will need to remove it and feed it 1-3 times until activated. Otherwise if it has been living on your counter, feed it in the morning and let it rest for 4-6 hours before using. You can learn more about sourdough starters from Chef Jacob of Stella Culinary Institute here.
- In a large mixing bowl combine the starter, water and flour. Mix together with a wooden spoon (or hands, if you’re brave) until smooth. The dough will NOT be a cohesive ball- rather it is what we call a “sponge”. Cover with plastic wrap and let sit at room temperature for 4 hours.
- Transfer the bowl to the refrigerator and chill overnight, at least 12 hours. This pause is crucial to build the tangy sourdough flavor that we all know and love.
- Remove the bowl from the refrigerator and add the sugar, salt, and bread flour to the sponge.
- Mix until a ball of dough begins to come together. Based on your baking environment you may need to add a few drops of water in order to incorporate all of the dry ingredients.
- Turn dough out onto a lightly floured surface and continue kneading until smooth and elastic, about 7-8 minutes. Form the dough into a ball, pulling it up and towards your body to create a taught surface. Transfer to a large lightly oiled bowl, turning the dough once to coat in the oil. Cover with plastic wrap and let rise in a warm spot until doubled in volume, 3-4 hours.
- Sprinkle a baking sheet with semolina flour (or if you prefer, you can use a silicone baking mat or parchment paper). Transfer the dough ball to a lightly floured work surface and gently deflate with the side of your hand.
- Divide the dough into two equal portions using a sharp knife. Working with one piece of the dough at a time, press gently into a rough rectangular shape. Make an indentation along the length of the rectangle with an outstretched hand. Using Annie’s Eats method: “Press the thumb of one hand along the indentation while pulling the upper edge of the dough down over the hand to enclose the thumb. Tightly roll the dough towards you while forming into a rough torpedo shape, about 6 x 8 inches. If there is a seam, pinch it shut. Place seam-side down on the prepared baking sheet. Repeat shaping with the other half of the dough.”
- Transfer the loaves to the baking sheet and cover loosely with a kitchen towel. Let rise in a warm place until nearly doubled in volume, about 2-3 hours.
- Just before baking, slash the top of each loaf three times diagonally using a sharp serrated knife. Try not to deflate or press too hard. Brush the top surface of the loaves with the egg wash. Stick your hand in the bowl of water and use a flicking motion to spray the loaves lightly with water. Slide the baking sheet into the oven.
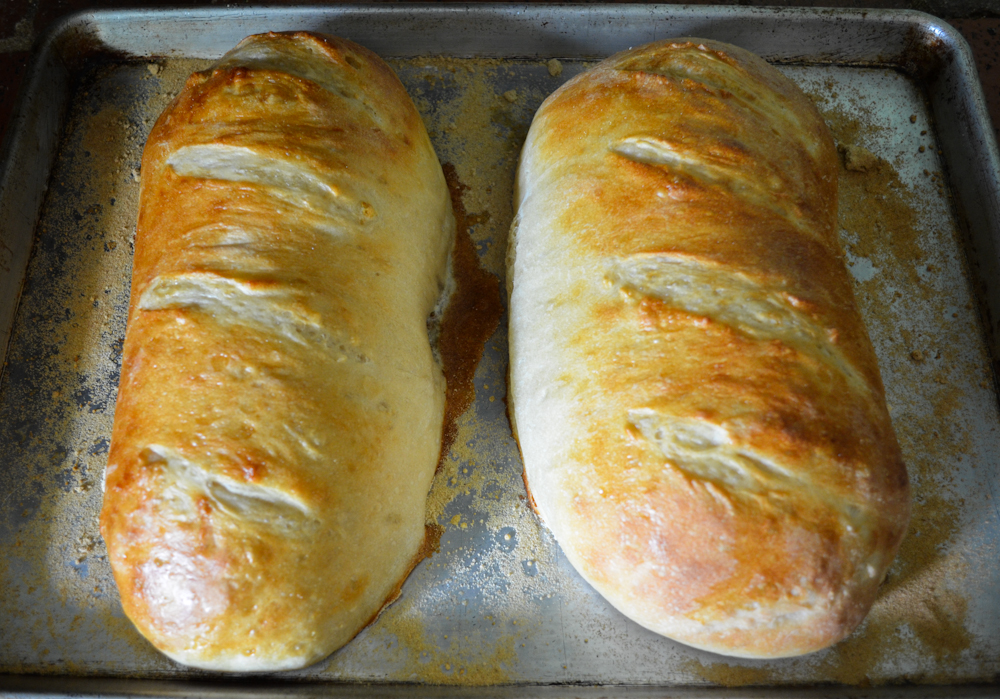
- Bake the loaves about 30 minutes, rotating the pan halfway through baking, until the crust is golden brown and an instant-read thermometer inserted into the center of the loaf reads at least 190˚ F. Midway through baking you can do another flick and spray using the water.
- Transfer the finished loaves to a wire rack and let cool at least 30 minutes before slicing and serving.